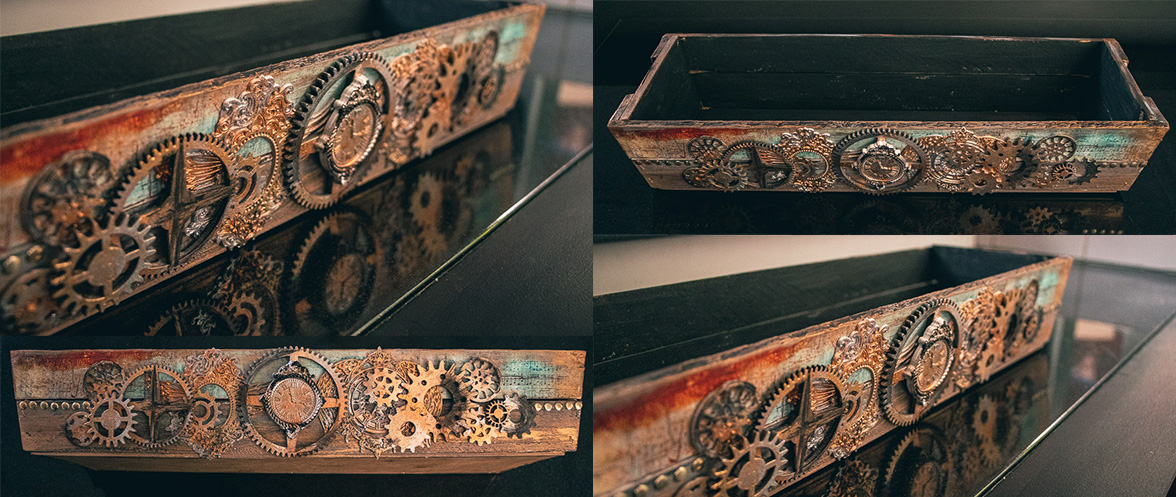
Hi everyone. I had once bought a wooden box which landed up cluttering my cupboard – what better idea than to make it textured and steampunky?

As with any project, I love starting with a clean white background. So, I painted it very roughly with a coat of white chalk paint.

Next step, I chose some very old looking & cracked craft paper and decided to decoupage the top frame. I cut the paper to size, and while it was soaking in water for a few minutes to soften, I painted a thin layer of wood glue on the top frame.

When that was done, I pasted the wet paper onto the wood and smoothed it down to unlock any air bubbles. It was looking great!

Now for the bottom frame. I was up for the challenge of creating a similar look, but instead of using paper, I chose 3 different coloured chalk paints:
1. White
2. Delmar
3. Charcoal
First a coat of paint with one colour, then a spray of water and then another colour. Another spray of water and then using a sponge I blended the paints.
Then I mixed some metallic gold powder with a bit of glaze & highlighted a few areas in gold.
The box was looking fantastic – the perfect background for a steampunk look.
Using Crafter’s Casting and our “Cogs” silicone mat, I made a full assortment of embellishments. I made more than I needed and sprayed them in an assortment of metallic colours.
Once dry, I used wood glue to assemble them on one side of my box.

I then painted a coat of FurniSeal on the whole box – this is the perfect product for a perfect finish and protective coat.
Yay!!! A great steampunk creation – a fantastic gift for any weird & wonderful friend. Or spoil yourself & keep it!


Leave a Reply